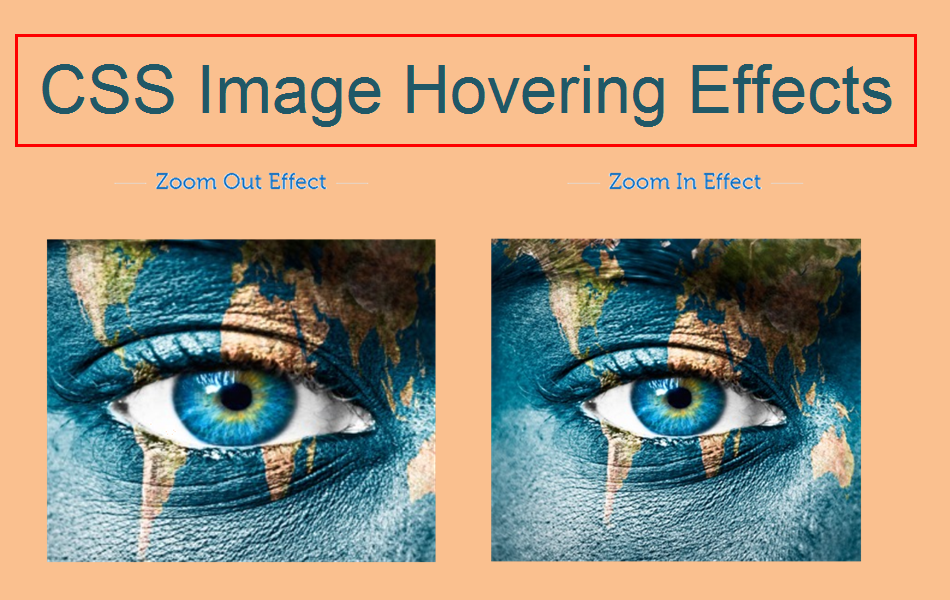
Weebly的11个CSS图像悬停效果
在我们之前的文章中,我们了解了如何在悬停时创建图像叠加,在本文中,我们将了解如何为您的 Weebly建站网站创建简单的图像悬停效果。 CSS 属性 transition、transform、filtering 和 opacity 用于为 Weebly 网站上的图像创建悬停效果。 您可以在“嵌入代码”元素中复制/粘贴完整的小部件代码,也可以在“标题代码”部分下添加 CSS 样式,并在页面上的“嵌入代码”元素中添加 HTML 代码。
推荐:如何在Weebly中添加H1-H6标题标签
Weebly 的 CSS 图像悬停效果
有 11 种不同的效果可供控制 – 缩小、放大、放大、缩小、饱和、对比度、亮度、灰度、模糊、反转颜色和不透明度。 完整的 CSS 和 HTML 代码以及每种样式的演示如下所示。
- 确保将 Image-URL 替换为您自己的图像 URL。 您可以在“资产”部分上传图片,也可以使用 Weebly 网站上不同页面的 URL 或使用其他网站的 URL。
- 您可以使用自己的值更改比例、灰度、亮度、对比度等的值。 例如,“-webkit-filter:brightness(0.25);” 会将亮度降低到 25%,您可以将其更改为“-webkit-filter:brightness(1.25);” 将亮度增加到 125%。
- Internet Explorer 不支持筛选器属性。
这是每种图像悬停效果的完整代码。 您可以通过将鼠标悬停在图像上来查看预览。
1. 悬停时放大图像
<style>
.cont1 {
overflow:hidden;
}
.cont1:hover .image1 {
-webkit-transform:scale(1);
transform:scale(1);
}
.image1 {
-webkit-transition: all 0.7s ease;
transition: all 0.7s ease;
border-radius: 15px;
-webkit-transform:scale(1.3);
transform:scale(1.3);
}
</style>

<div class="cont1">
<img class="image1" src="https://www.webnots.com/11-image-hovering-effects-for-weebly/Image-URL">
</div>
2. 悬停时缩小图像
<style>
.cont2 {
overflow:hidden;
}
.cont2:hover .image2 {
-webkit-transform:scale(1);
transform:scale(1);
}
.image2 {
-webkit-transition: all 0.7s ease;
transition: all 0.7s ease;
border-radius: 15px;
-webkit-transform:scale(1.3);
transform:scale(1.3);
}
</style>

<div class="cont2">
<img class="image2" src="https://www.webnots.com/11-image-hovering-effects-for-weebly/Image-URL">
</div>
3.放大悬停时的图像尺寸
<style>
.image3 {
 -webkit-transition: all 0.7s ease;
 transition: all 0.7s ease;
}
.image3:hover {
-webkit-transform:scale(1.3);
transform:scale(1.3);
}
</style>

<img class="image3" src="https://www.webnots.com/11-image-hovering-effects-for-weebly/Image-URL">
4. 缩小悬停时的图像大小
<style>
.image4 {
 -webkit-transition: all 0.7s ease;
 transition: all 0.7s ease;
}

.image4:hover {
-webkit-transform:scale(0.7);
transform:scale(0.7);
}
</style>

<img class="image4" src="https://www.webnots.com/11-image-hovering-effects-for-weebly/Image-URL">
5. 改变悬停时图像颜色的饱和度
<style>
.image5 {
-webkit-transition: all 0.7s ease;
transition: all 0.7s ease;
}
.image5:hover {
-webkit-filter: saturate(4);
}
</style>

<img class="image5" src="https://www.webnots.com/11-image-hovering-effects-for-weebly/Image-URL">
推荐:WooCommerce主题Oxygen WooCommerce主题
6. 悬停时将图像转换为灰度
<style>
.image6 {
-webkit-transition: all 0.7s ease;
transition: all 0.7s ease;
}
.image6:hover {
-webkit-filter: grayscale(100%);
}
</style>

<img class="image6" src="https://www.webnots.com/11-image-hovering-effects-for-weebly/Image-URL">
7.改变图像悬停的对比度
<style>
.image7 {
-webkit-transition: all 0.7s ease;
transition: all 0.7s ease;
}
.image7:hover {
-webkit-filter: contrast(160%);
}
</style>

<img class="image7" src="https://www.webnots.com/11-image-hovering-effects-for-weebly/Image-URL">
8.改变图像悬停的亮度
<style>
.image8 {
-webkit-transition: all 0.7s ease;
transition: all 0.7s ease;
}
.image8:hover {
-webkit-filter: brightness(0.25);
}
</style>

<img class="image8" src="https://www.webnots.com/11-image-hovering-effects-for-weebly/Image-URL">
9. 改变悬停时图像的模糊度
<style>
.image9 {
-webkit-transition: all 0.7s ease;
transition: all 0.7s ease;
}
.image9:hover {
-webkit-filter: blur(5px);
}
</style>

<img class="image9" src="https://www.webnots.com/11-image-hovering-effects-for-weebly/Image-URL">
10. 悬停时反转图像颜色
<style>
.image10 {
-webkit-transition: all 0.7s ease;
transition: all 0.7s ease;
}
.image10:hover {
-webkit-filter: invert(100%);
}
</style>

<img class="image10" src="https://www.webnots.com/11-image-hovering-effects-for-weebly/Image-URL">
11. 更改悬停时的不透明度颜色
<style>
.image11 {
-webkit-transition: all 0.7s ease;
transition: all 0.7s ease;
}
.image11:hover {
opacity:0.6;
filter: alpha(opacity=60);
}
</style>
<img class="image11" src="https://www.webnots.com/11-image-hovering-effects-for-weebly/Image-URL">
由于所有这些效果都是使用通用 CSS 创建的,因此您可以在任何 HTML 页面上使用这些代码。 例如,这是一个 WordPress 网站,我们在 WordPress 中使用了“自定义 HTML”块来展示所有 CSS 图像叠加效果。

