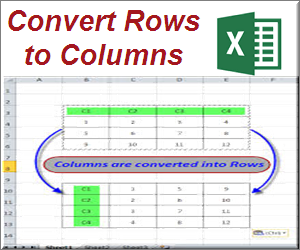
Microsoft Excel Convert Columns to Rows and Rows to Columns
Microsoft Excel is nothing but working with data in columns and rows. While preparing data in Excel, sometimes you need to convert data in columns to rows and vice versa. This article explains the step-by-step instructions on how to convert columns to rows of an Excel worksheet. This is especially useful when you have data in a tabular format and struggle to convert the columns of the table into rows along with the complete data.
Recommendation: Home Lifestyle Elementor WooCommerce Theme Aora
Directory
- Example data in the table
- Use the transpose function
- Use special paste directly
- Use the paste option control
- Microsoft Excel for Mac
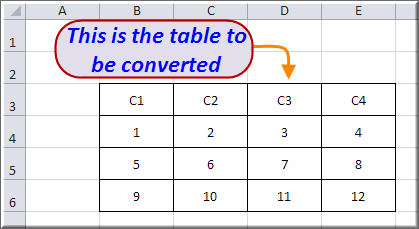
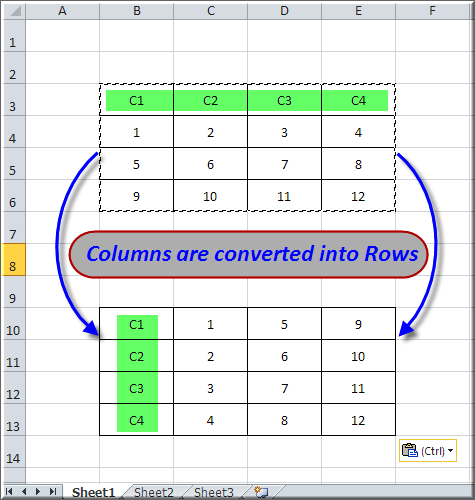
Example data in the table
Suppose you have data in a table in an Excel worksheet as shown in the picture beside. Now you want to convert the complete table from column format to row format. Copying and pasting each cell is a time-consuming and error-prone process.
Using Transpose Function
Microsoft Excel provides a simple function called “Transpose” that can accomplish such a difficult task in just a few clicks. Follow the steps below to know about the Transpose function.
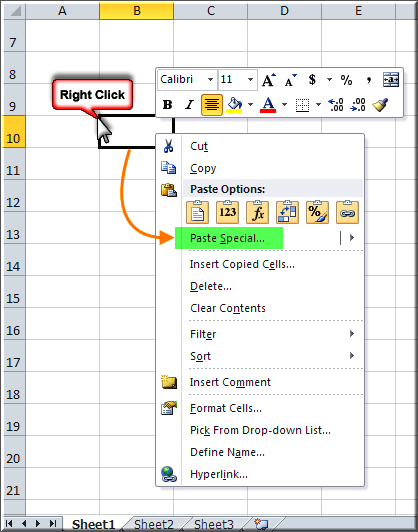
- Select the complete table data and copy to the clipboard using Ctl+C shortcut.
- Right-click on the cell you want to paste.
- Click on the “Paste Special” option from the context menu as shown in the following figure.
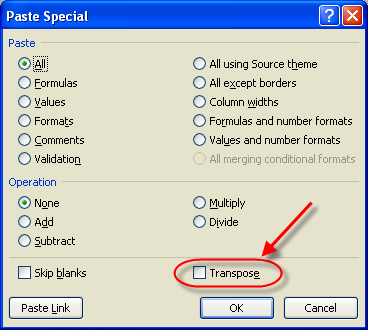
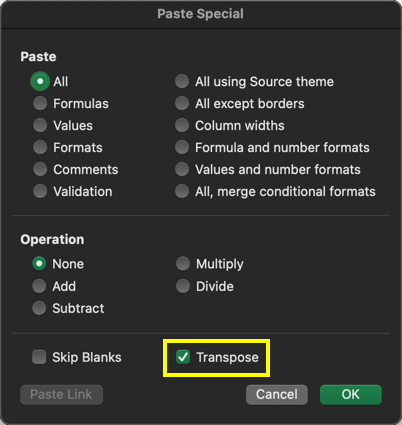
- A new pop-up window will open as shown below.
- Click the checkbox “Transpose” and then click the “OK” button.
Now all your tabular data is converted from row format to column format. This can be used to spread data from a single row or column to a large table into multiple columns and rows.
Directly Using Paste Special
When you right-click a cell, you can also click the “arrow” mark next to “Paste Special” to see the full range of paste options, including the “Transpose” feature, as shown in the figure below.

Related articles:
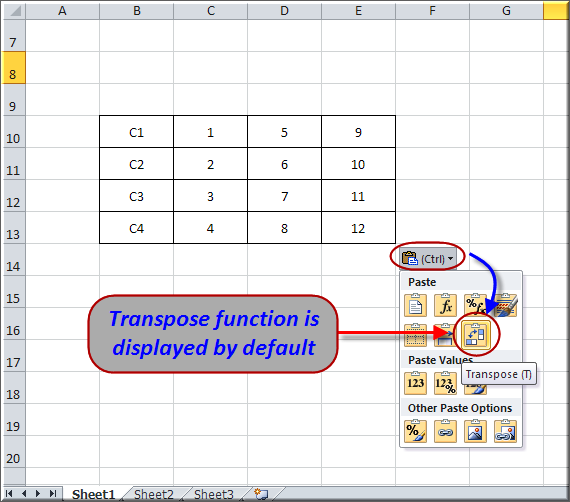
Using Paste Options Control
Whenever you paste something in a cell, you’ll notice a little button that says “Paste Options (Ctrl)”. Once you use the Transpose feature, it automatically appears as a common option in the Paste Options. So, from next time on, just copy the table and paste it in the cells you want, then click “Paste Options (Ctrl)” to use the Transpose option.
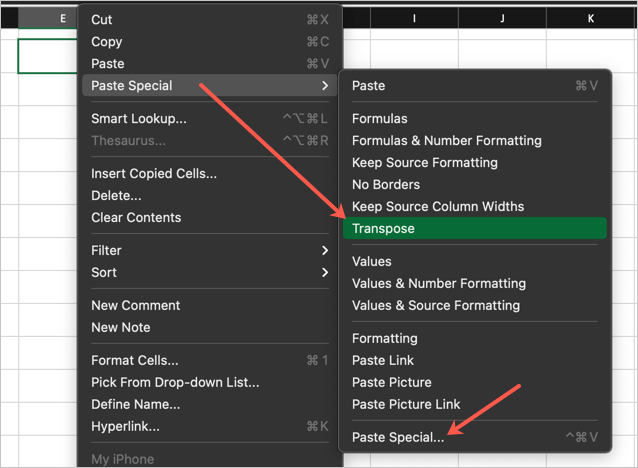
Microsoft Excel for Mac
Similar to the Windows version, you can also use the Transpose feature in Microsoft Excel for Mac. After copying the content, just right-click on the cell where you want to paste and select the Transpose option. This will paste the content by converting rows into columns.
Alternatively, you can select “Paste Special…” to open the dialog box. Here, you can check the “Transpose” option and click “OK” to paste the transposed data.
You can also press the “Control + Command + V” keyboard shortcut to open the Paste Special dialog box.