
How to sell photos on Shopify
Selling photos is something that photographers or content creators can do to earn extra income. There are so many types of photos, and there is a lot of room to sell prints of your photos, especially digital ones, so you don’t have to worry about shipping.
If you’re looking for ways to market your photos once you’ve set up your Shopify store, check out this guide – Avoid These Mistakes When Selling Digital Products.
Recommendation: Shopify Mobile Optimization Comprehensive Guide
How to sell photos on Shopify
1. Create a Shopify store
If you don’t have one yet, create a Shopify store. It’s super easy, so there’s no excuse!
2. Create Shopify Products for Photos
You need to think about how you’re going to display your photos in your store. Are you going to create one product per photo? Will each product have variations?
Once you’ve figured this out, it’ll be easy to start creating your products. Log in to Shopify, and create a Shopify product.
- Go to the “Products” page
- Click the “Add Product” button
- Enter details and fill in options

Remember that if you only sell digital files, you need to mark your products as digital. Go to the “Shipping” section on the product page and disable the option “This is a physical product“.
3. Install Fileflare App to Your Store
Go to the Shopify App Store and install Fileflare Digital Download. As we all know, it is the most popular digital file app because it is built by Shopify experts.

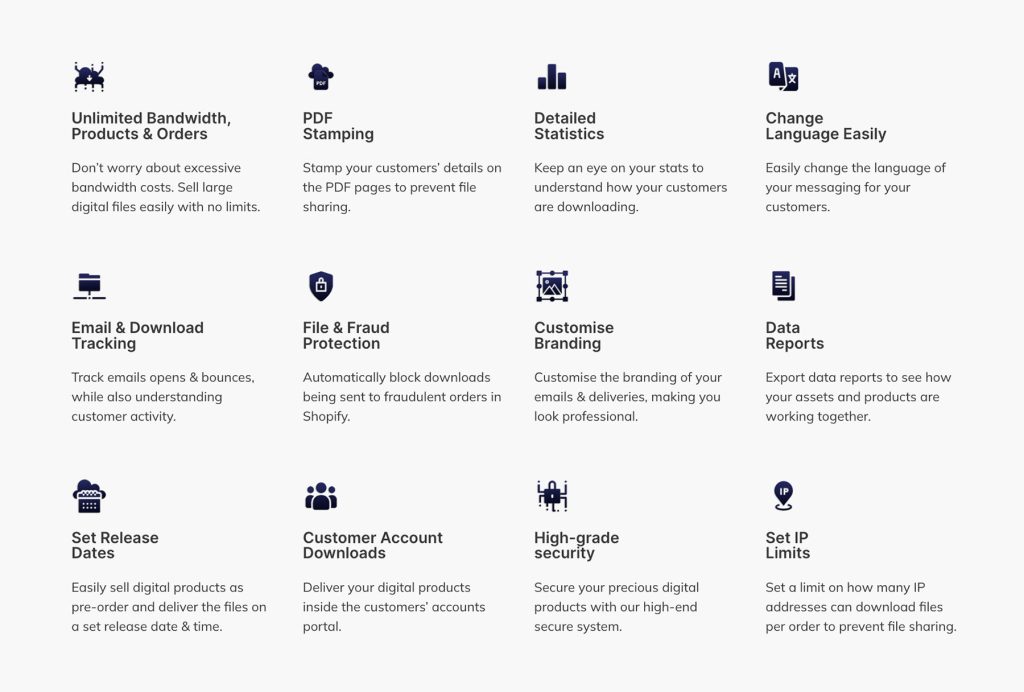
The app includes very good features such as IP address protection, blocking fraudulent orders, setting release dates, CSV bulk adding, updating files and notifying customers, and more.
Recommendation: WordPress School Management
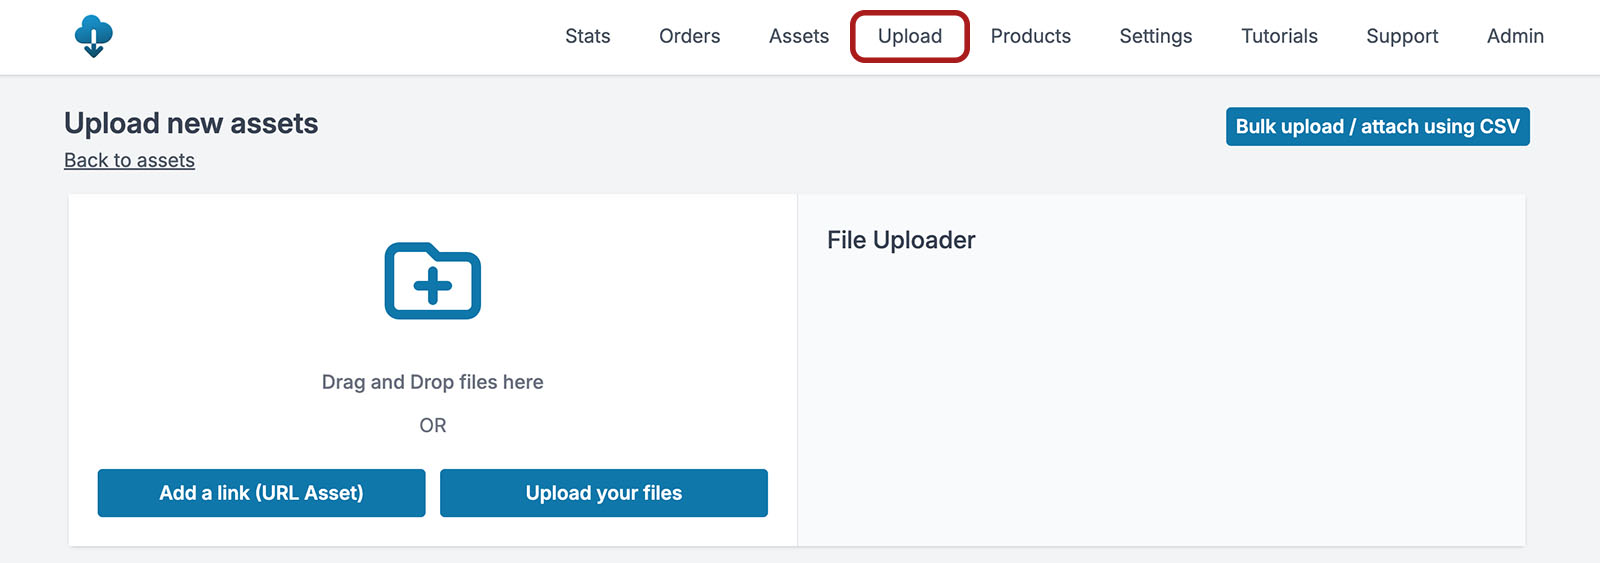
4. Upload photos to Fileflare
Go to the Upload page and upload your photo files.
If you want to host your own photo files on your own account, you can also connect your own S3 storage, which means you will pay for your own storage. Just go to the Settings page and go to Custom S3.
The cool thing about Fileflare is that it allows you to handle hundreds of thousands of files. If you are selling thousands of photos, then you can use the bulk attach tool to bulk attach your products and photos.
5. Attach photos to Shopify products
When a customer orders a Shopify product or variation, Fileflare will check if there are any photos attached to the product and then deliver it to the customer.
There are several ways to attach photos to Shopify products. You can do this from the file page or the product page.
Connect via the Files Page
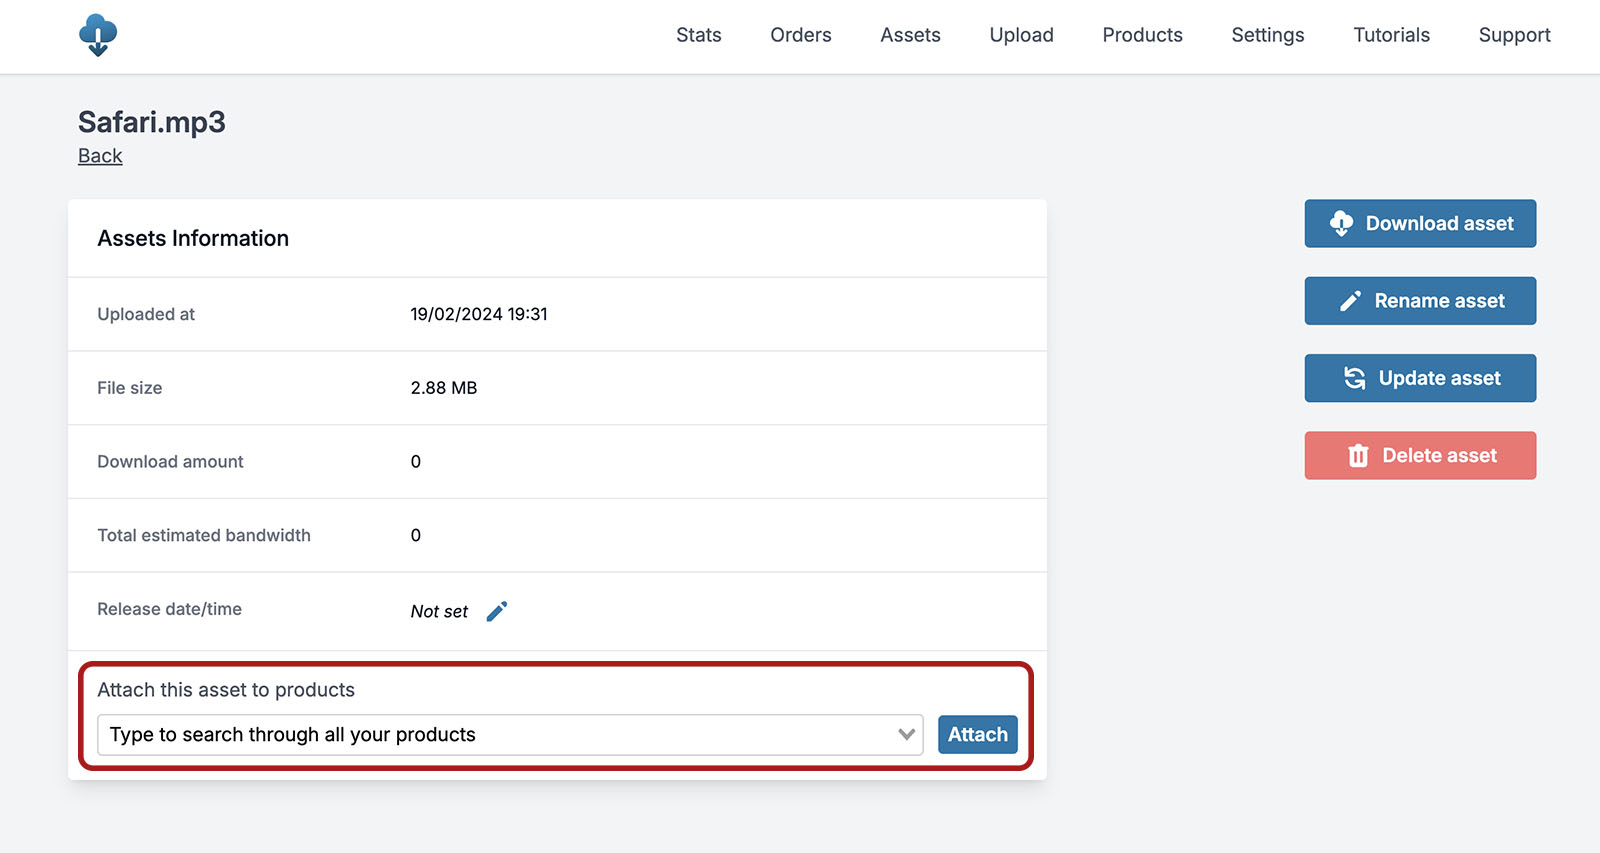
Once the files are uploaded, you will notice that they have blue links. Click on the blue link and you will be taken to the Files page. Here you can use the drop-down to select the Shopify product you want to attach.
- Go to the Files page by going to “Assets” in the main navigation and selecting the uploaded asset
- Then, use the drop-down menu to attach the photo to the product
Attach via product page
Go to:
- Products page
- Click on a product
- Now use the drop-down menu to select the files you uploaded and attach them to the product
Video Tutorial
Done
That’s literally all you need to do to sell photos on Shopify. It’s not as complicated as everyone on the internet makes it out to be. I hope this was a nice simple tutorial that showed you exactly how to do it, without any nonsense.
At this point you can place a test order and see the process. If you run into any difficulties, feel free to leave us a comment