How to Check TPM Version Before Upgrading to Windows 11
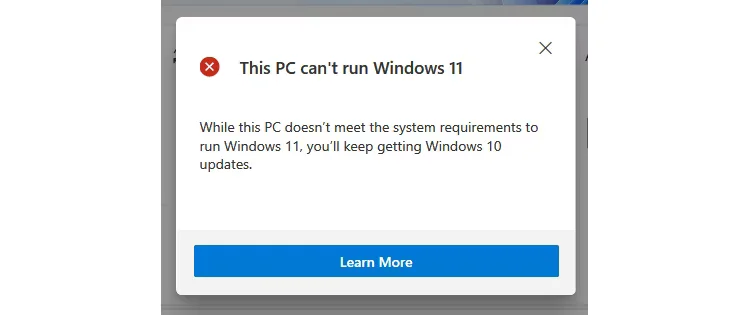
Since Windows 11 launched, many people have wondered if they can upgrade to the latest version of Windows for free. Fortunately, Microsoft allows users to do so, but when they check their computer’s compatibility, they receive the following message: This PC can’t run Windows 11This PC can’t run Windows 11.
It turns out that your PC must have a TPM installed and activated in order to upgrade. So what is a TPM in the first place? And how can you fix it to get the latest operating system from Microsoft?
What is TPM?

TPM, or Trusted Platform Module, is a hardware-based security solution. It is a chip installed directly on the motherboard that protects your system from malware and other attacks. It is also an integral part of Windows security tools, such as Bitlocker drive encryption.
Windows 11 recommends upgrading the TPM 2.0 chip in your system, although TPM 1.2 will meet its minimum standards. Microsoft needs this technology to improve the security of its customers – even though many experts believe that these specifications are redundant.
So if you want to upgrade to Windows 11, you have to know if your computer has a TPM, check the TPM version and which one you can access.
How to check if you have a TPM installed
The easiest way to check if you have a TPM chip is to run the get-tpm command through Windows PowerShell.
To do this, type PowerShell in the Start menu search bar. Right-click Right-click on the Windows PowerShell result and select Run as administrator. Click Yes in the confirmation window.
In the Windows PowerShell application, type get-tpm and press Enter. You should see the following result:
If TpmPresent returns False, then unfortunately, your motherboard does not have a TPM chip. But if you get the following result:
- TpmPresent: True
- Ready: False
You can then activate the TPM chip in the BIOS/UEFI and check if you are eligible for the Windows 11 upgrade. That is, assuming the rest of your system meets the Windows 11 upgrade requirements.
How to Check TPM Version
Microsoft initially announced that users would need TPM 2.0 to run Windows 11. However, they later revised the documentation to set the minimum requirement to TPM 1.2, with TPM 2.0 version recommended.
Now, if you try to upgrade to Windows 11 with a TPM 1.2 chip instead of a TPM 2.0, you’ll be met with a message stating “Upgrade not recommended.” However, if you don’t even have a TPM 1.2 chip, you can’t even do that — the Windows 11 upgrade won’t be offered to your device.
Now that you know if you have a TPM chip installed, check your TPM version. Press Windows + R, and enter tpm.msc. The Trusted Platform Module (TPM) Management window should open.
Under the TPM Manufacturer InformationTPM Manufacturer Information sub-window, look for Specification VersionSpecification Version. You should be able to see the TPM version your PC is running.
How to Upgrade TPM 1.2 to TPM 2.0
If you find that you have a TPM 1.2 chip, there is a chance you can upgrade to TPM 2.0. This depends entirely on your hardware, manufacturer, and firmware, which is why we won’t provide exact details on how to upgrade TPM 1.2 to TPM 2.0.
If you complete an Internet search for your type of hardware and the phrase “upgrade tpm 1.2 to tpm 2.0,” you might find some handy search results to guide you through the process.
Can you turn on the TPM for the Windows 11 upgrade?
If your computer has a built-in TPM 1.2 or later chip, you just need to make sure it’s turned on to get Windows 11. Activation varies by motherboard make and model. You’ll have to check your computer’s documentation to find accurate instructions.
TPM availability varies by motherboard, but most new devices have them installed. In fact, Microsoft has required all new hardware to use a TPM 2.0 chip since 2016. However, if you have an older PC and it doesn’t have a TPM chip, your only solution is to upgrade your device.
